
As a seasoned food blogger, I’m thrilled to share the delightful world of Victoria Sponge Cake recipes with you. This British classic, also known as Victoria sandwich cake, is a beloved dessert that has stood the test of time. Named after Queen Victoria, who adored it during her afternoon teas, this cake exudes simplicity and elegance.
Originally crafted with just eggs, the evolution of adding baking powder in the mid-1800s transformed the Victoria sponge into a lighter, more foolproof delight. The airy sponge layers, coupled with luscious jam and whipped cream, create a harmonious symphony of flavors that is sure to captivate your taste buds.
Whether it’s for a cozy afternoon tea or a joyous celebration, the Victoria sponge cake is a versatile treat that never fails to impress. Join me on this culinary journey as we explore the magic of this iconic British dessert.
Ingredients
Creating a delightful Victoria sponge cake requires simple yet essential ingredients that come together to form a classic British treat. Let’s dive into the key components needed for both the cake itself and its luscious fillings.
For the Cake
- 4 eggs
- Butter (equal weight to the eggs)
- Caster sugar (equal weight to the eggs)
- Self-rising flour (equal weight to the eggs)
- Vanilla extract
- Baking powder (for optimal rise)
- Strawberry jam (traditional choice)
- Butter
- Icing sugar (for British buttercream)
- Whipped cream
- Fresh strawberries (optional, for variation)
- Fruit curd (alternative filling option)
- Sugar (for sprinkling on top)
Equipment Needed
As a seasoned baker, having the right equipment is crucial to ensure the success of your Victoria Sponge cake. Here’s a list of essential tools you’ll need to create this delightful British classic:
- 2 8-inch Round Cake Pans: Ensure you have two suitable cake pans to achieve the perfect sponge layers.
- Parchment Paper: Used to line the bottoms of the cake pans, preventing the cake from sticking and aiding in easy removal.
- Mixing Bowls: Have a few mixing bowls handy for sifting dry ingredients, preparing the batter, and making fillings.
- Electric Mixer or Stand Mixer: Opt for a reliable mixer to effortlessly combine ingredients for a smooth cake batter.
- Wire Cooling Rack: Essential for cooling the cakes evenly after baking, allowing air to circulate around them.
With these tools at your disposal, you’ll be well-prepared to embark on the journey of creating a scrumptious Victoria Sponge cake.
Preparation
Before diving into making the Victoria Sponge Cake, it’s crucial to prepare all the essential components properly. Let’s walk through the steps of making the sponge and creating the delightful filling to assemble this classic British treat.
Making the Sponge
To begin crafting the perfect Victoria Sponge Cake, preheat your oven to 350°F and prepare two 8-inch round cake pans by greasing them with butter and lining the bottoms with parchment paper. In a medium bowl, sift self-rising flour, baking powder, and salt together. Ensure your baking powder measurements are precise to avoid overpowering the cake’s flavor.
Using a stand mixer or a handheld electric beater, cream together softened unsalted butter and granulated sugar until smooth and fluffy. Add the eggs one at a time, ensuring thorough mixing after each addition. Incorporate milk and vanilla extract into the batter to enhance the delicate flavor of the sponge.
Creating the Filling
For the delectable filling, whip heavy cream with confectioners sugar until soft peaks form. This whipped cream will add a light and airy element to the cake. Spread strawberry jam generously over one sponge layer, then top it with the sweetened whipped cream. Gently place the second sponge layer on top to create a delightful sandwich of flavors.
Dust the assembled Victoria Sponge Cake with confectioners sugar for an elegant finish. Serve immediately, accompanying each slice with an extra dollop of whipped cream on the side for an indulgent treat that will please any crowd.
Assembly
Assembling the Victoria Sponge cake is where the magic happens. Layering the cake with jam and cream, and adding the final touches, ensures a decadent and beautiful treat fit for any celebration.
Layering the Cake
- Place one sponge layer crust-side down on a serving plate to serve as the base.
- Using the back of a spoon, evenly spread 6 tablespoons of raspberry jam over the sponge layer.
- If adding cream, ensure it is chilled, and whisk until it holds soft peaks.
- Spread the whipped cream gently over the jam layer.
- Carefully position the second sponge layer on top, ensuring a secure and even stack.
- Dust the top of the cake with a sprinkle of confectioners sugar for an elegant finish.
- Serve your Victoria Sponge cake immediately or store it in an airtight container to enjoy later.
Baking Instructions
After preparing the sponge cake layers with jam and cream, it’s time to move on to the final steps of assembling the Victoria Sponge Cake for a truly decadent finish. Follow these detailed baking instructions to complete the process and present a delightful treat for your guests.
Step 1: Stack the Cake Layers
Carefully place one of the sponge cake layers on a serving plate or cake stand. Ensure that the top of the layer is facing down for a smooth finish.
Step 2: Add the Jam and Cream
Spread a generous layer of strawberry jam over the top of the first cake layer, covering it evenly. Next, add a layer of whipped cream on top of the jam, spreading it out gently.
Step 3: Stack the Layers
Gently place the second sponge cake layer on top of the cream, ensuring that the top of this layer faces up. This will create a beautiful sandwich effect with the jam and cream in the middle.
Step 4: Dust with Confectioners Sugar
Using a fine sieve, dust the top of the Victoria Sponge Cake with confectioners sugar. This adds a delightful touch of sweetness and a visually appealing finish to the cake.
Step 5: Serve or Store
Your Victoria Sponge Cake is now ready to be served and enjoyed. Slice into generous portions and present on a cake stand for a beautiful presentation. If not serving immediately, store the cake in the refrigerator to maintain freshness.
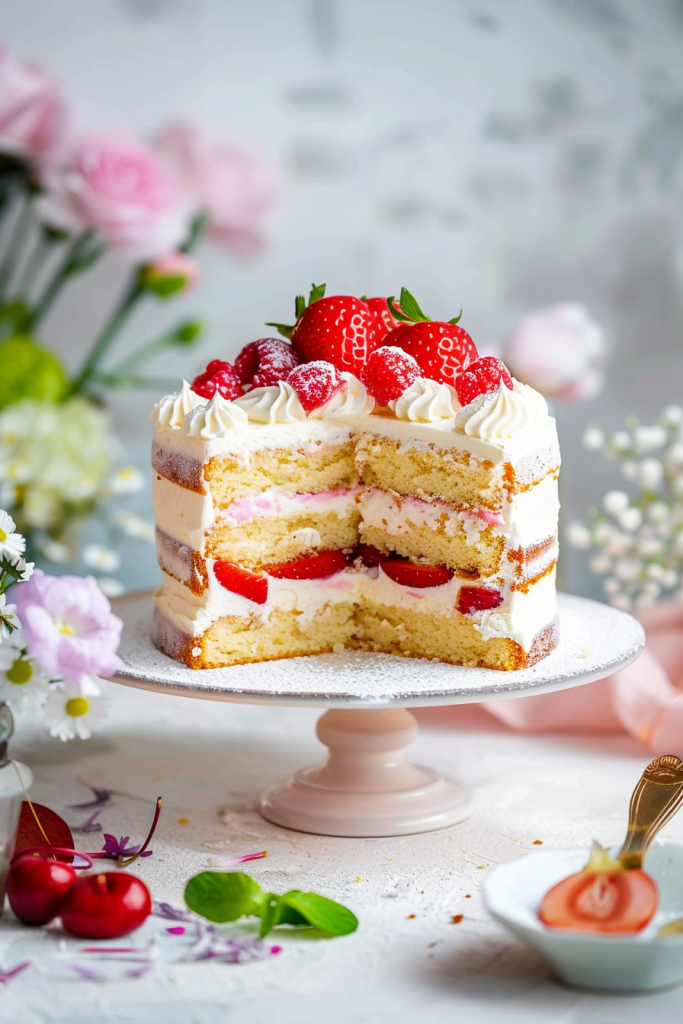
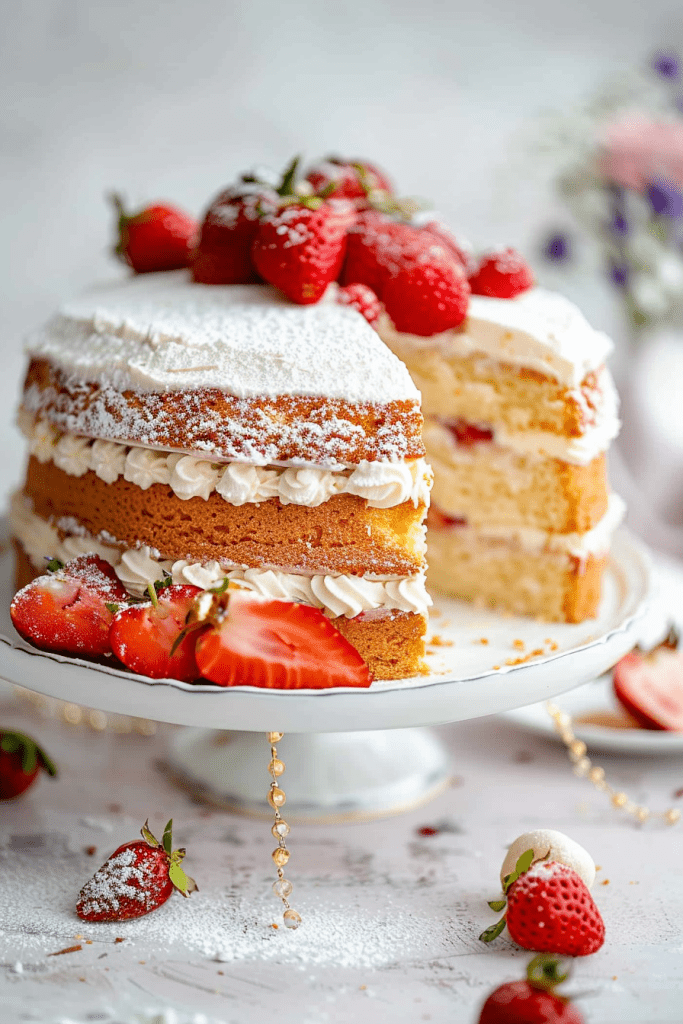
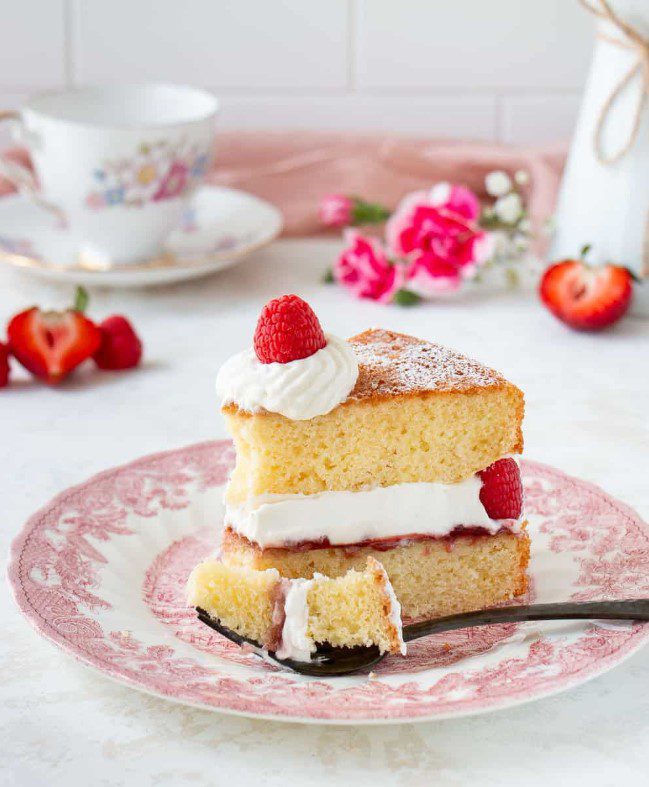
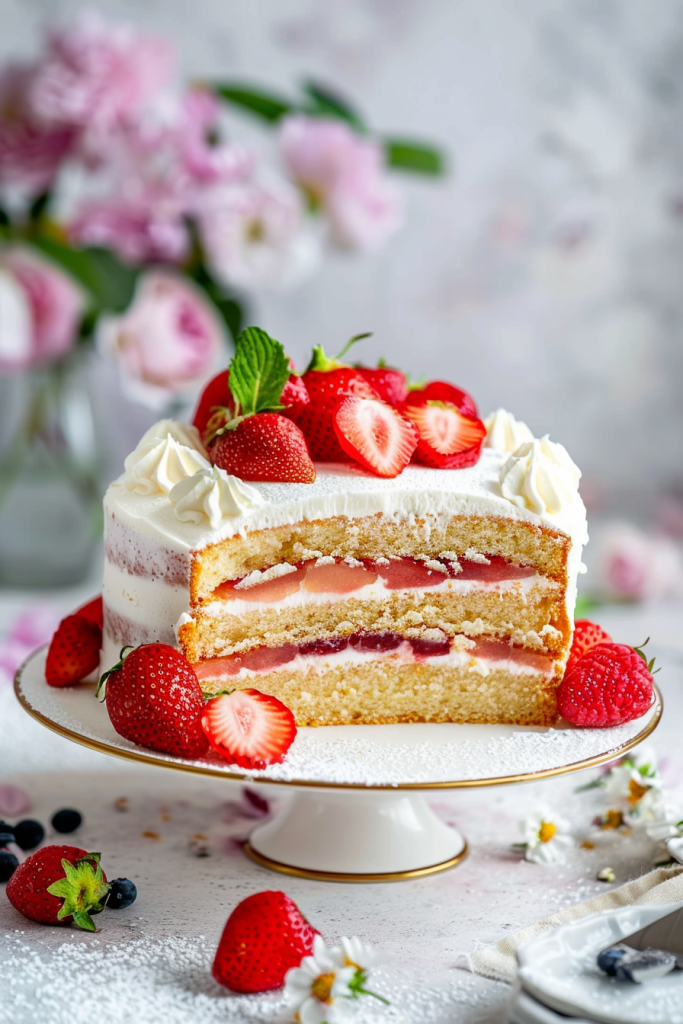
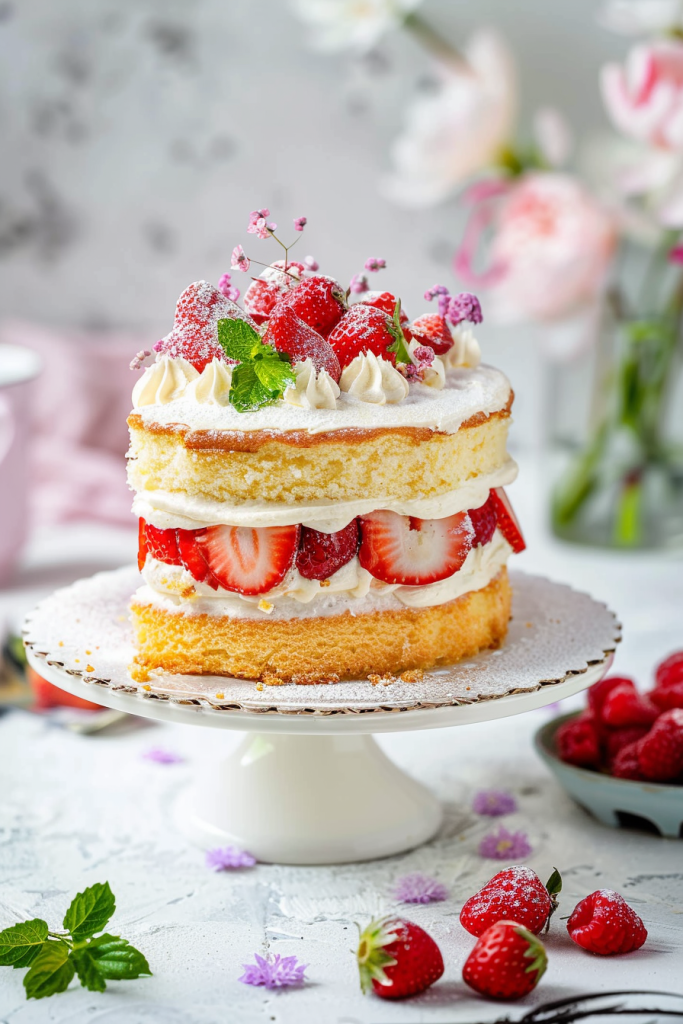
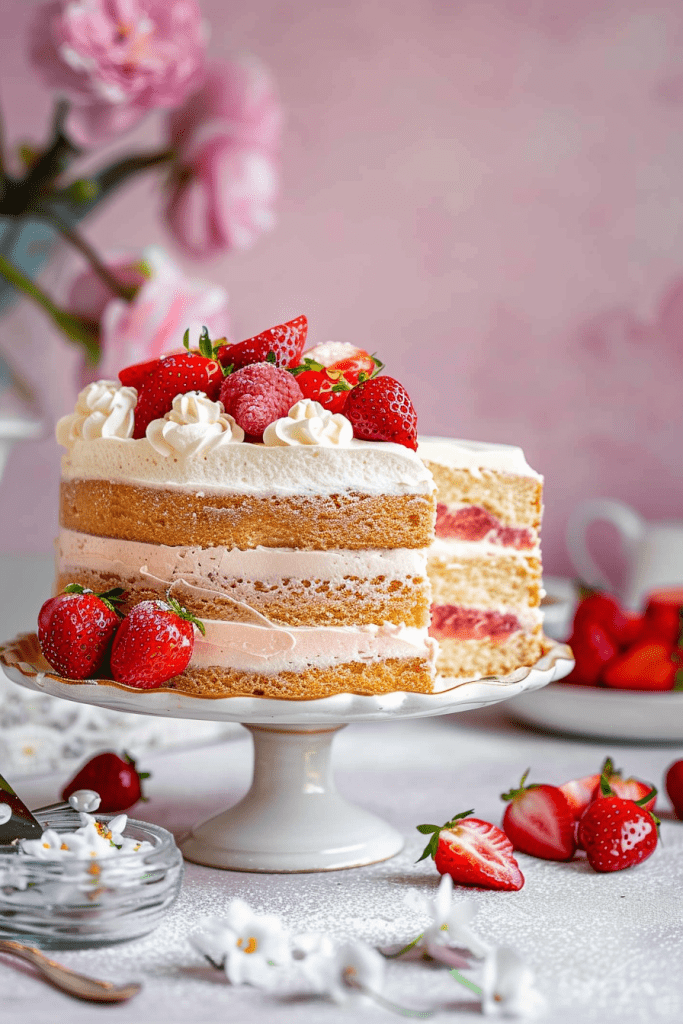
Serving and Presentation
To serve this delightful Victoria Sponge Cake, I recommend cutting it into generous slices to showcase those beautiful layers of jam and cream. When presented on a platter or cake stand, this classic cake makes for an elegant addition to any afternoon tea or dessert spread.
For an added touch of sophistication, lightly dust the top of the cake with a sprinkling of confectioners’ sugar. This not only enhances the visual appeal but also adds a hint of sweetness that complements the flavors of the cake perfectly.
To elevate the presentation further, consider serving each slice with a dollop of freshly whipped cream on the side. This allows your guests to customize their experience, adding an extra element of indulgence to this already delightful treat.
Remember that the key to a stunning presentation is in the details. Whether garnishing with fresh berries, mint leaves, or a drizzle of raspberry coulis, taking the time to add those finishing touches will truly make your Victoria Sponge Cake a showstopper at any gathering.
Storage Tips
After baking your delicious Victoria Sponge Cake, proper storage is essential to maintain its freshness and flavor. Here are some helpful tips:
Refrigeration Guidelines
To keep your Victoria Sponge Cake fresh, store it in an airtight container in the refrigerator. The cake can be refrigerated for up to 3-4 days. Make sure to cover the cake to prevent it from drying out.
Freezing and Reheating Instructions
If you want to freeze your Victoria Sponge Cake for future enjoyment, wrap it tightly in plastic wrap or aluminum foil before placing it in a freezer-safe container. The cake can be frozen for up to 1-2 months. When ready to enjoy, let the cake thaw in the refrigerator overnight. To reheat, you can gently warm individual slices in the microwave for a few seconds or bring the whole cake to room temperature before serving.
Conclusion
Creating a perfect Victoria Sponge Cake is a delightful journey that combines history, essential ingredients, precise baking techniques, and exquisite presentation. The final touches of layering with jam and cream, dusting with confectioners’ sugar, and serving with flair elevate this classic treat to a culinary masterpiece. Remember, attention to detail is key, whether it’s garnishing with fresh berries or mint leaves or serving generous slices with a dollop of whipped cream. By following the storage guidelines, you can savor the freshness of your Victoria Sponge Cake for days or even months. Embrace the art of baking this iconic dessert, and let each slice tell a story of tradition and taste.