
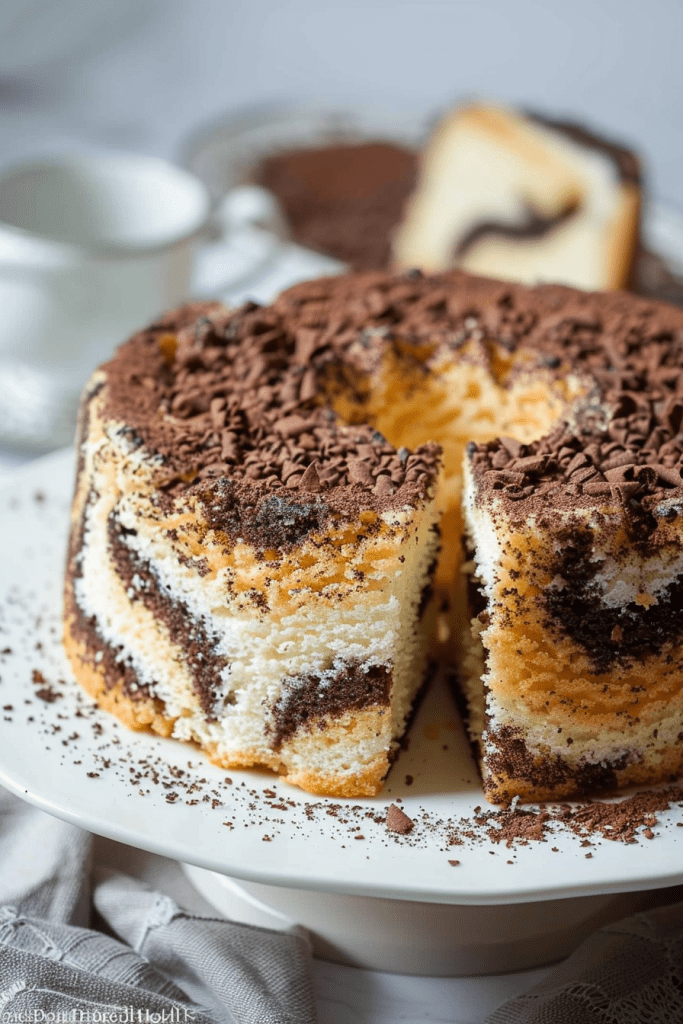
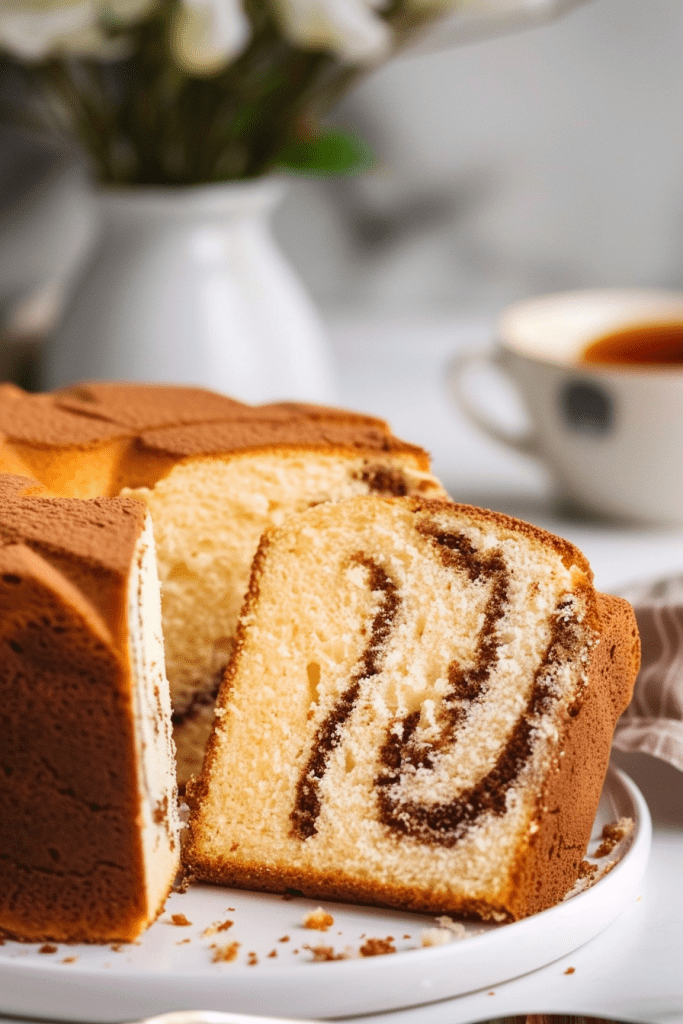
Craving a light, airy, and visually stunning dessert? Look no further than marble chiffon cake recipes. This delightful twist on the classic chiffon cake combines the richness of cocoa with the lightness of vanilla in a beautifully marbled creation. The secret to its cloud-like texture lies in the abundance of eggs, resulting in a spongy and moist treat that’s sure to impress.
Perfect for both beginners and seasoned bakers, marble chiffon cake recipes offer a simple yet rewarding baking experience. With just a few basic ingredients like flour, eggs, sugar, and cocoa powder, you can create a masterpiece that stands out for both its taste and appearance. Whether you’re a fan of chocolate, vanilla, or a mix of both, this recipe is a must-try for anyone looking to elevate their dessert game.
Ingredients
Creating a delicious marble chiffon cake requires a delicate balance of ingredients for both the vanilla and chocolate batters. Let’s dive into what you’ll need to make this delightful dessert.
Required for Vanilla Batter
- 1 teaspoon vanilla extract
- 2 cups flour
- 1 tablespoon OR 3 teaspoons baking powder
- A nice pinch of salt, about 1/2 a teaspoon rounded
- 4 flat tablespoons cocoa, sifted after measuring
- 1/4 cup very hot water
- 1/4 cup sugar
- 13 cups Hershey’s cocoa powder for baking
- 2 1/4 cups all-purpose flour
- 3/4 cup cold water or unsweetened orange juice
- 7 large egg yolks (reserve whites)
- 1 tablespoon fresh grated orange peel
Prepare for a delightful baking experience with these meticulously selected ingredients that will ensure the perfect balance of flavors in your marble chiffon cake.
Necessary Equipment
As I delve into the world of baking marble chiffon cakes, having the right equipment is crucial for achieving the desired texture and appearance of this delightful dessert. Here are the essential tools and equipment you will need to prepare a perfect marble chiffon cake:
1. Mixing Bowls:
Prepare a set of mixing bowls for combining the dry and wet ingredients separately before blending them together. Make sure the bowls are clean and free of grease to ensure the stability of the batter.
2. Electric Mixer:
An electric mixer, whether a stand mixer or a handheld one, is recommended for efficiently beating the egg whites and preparing the fluffy chiffon cake batter. It helps in achieving the desired peaks in the meringue.
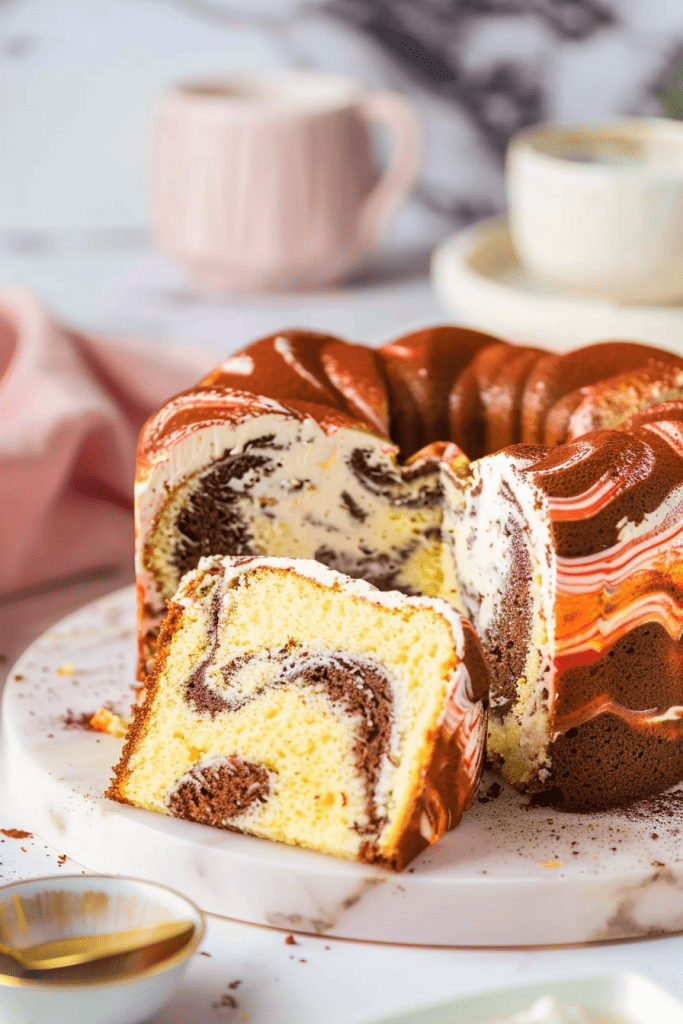
3. 10-Inch UNGREASED Tube Pan:
To bake the marble chiffon cake, you will need a 10-inch UNGREASED tube pan. Ensure that the pan is clean and dry before pouring the batter to allow the cake to rise properly and cling to the sides for support.
4. Spatula:
A spatula is handy for folding the whipped egg whites into the batter gently. Use a rubber spatula to scrape the sides and bottom of the mixing bowl effectively, ensuring all ingredients are well incorporated.
5. Whisk:
A whisk is essential for whipping the egg whites to create a stable meringue with soft peaks. This tool helps in aerating the eggs and adding lightness to the chiffon cake batter.
Equipped with these essential items, you are now ready to embark on the exciting journey of baking a marble chiffon cake that will impress your taste buds and captivate your guests with its heavenly combination of flavors.
Prep Work
Before diving into making the delicious marble chiffon cake, some essential prep work needs to be done to ensure a successful bake. Let’s get started with prepping the pan and preheating the oven.
Preparing the Pan
For the perfect marble chiffon cake, you’ll need a 10-inch UNGREASED tube pan. Greasing the pan may lead to a baking disaster, so it’s crucial to leave it ungreased. Picture it as a mountain climber trying to scale a greased rope – quite the challenge! Non-stick pans work just fine without any extra greasing.
Preheating the Oven
To set the stage for baking success, preheat your oven to 350°F. Preheating for at least 15 minutes is crucial to reach the right temperature, especially with the egg whites in the batter. Placing the tube pan on a parchment-lined jelly roll pan can catch any potential drips during baking. Your oven should be ready and waiting before you start creating the marble magic.
Directions
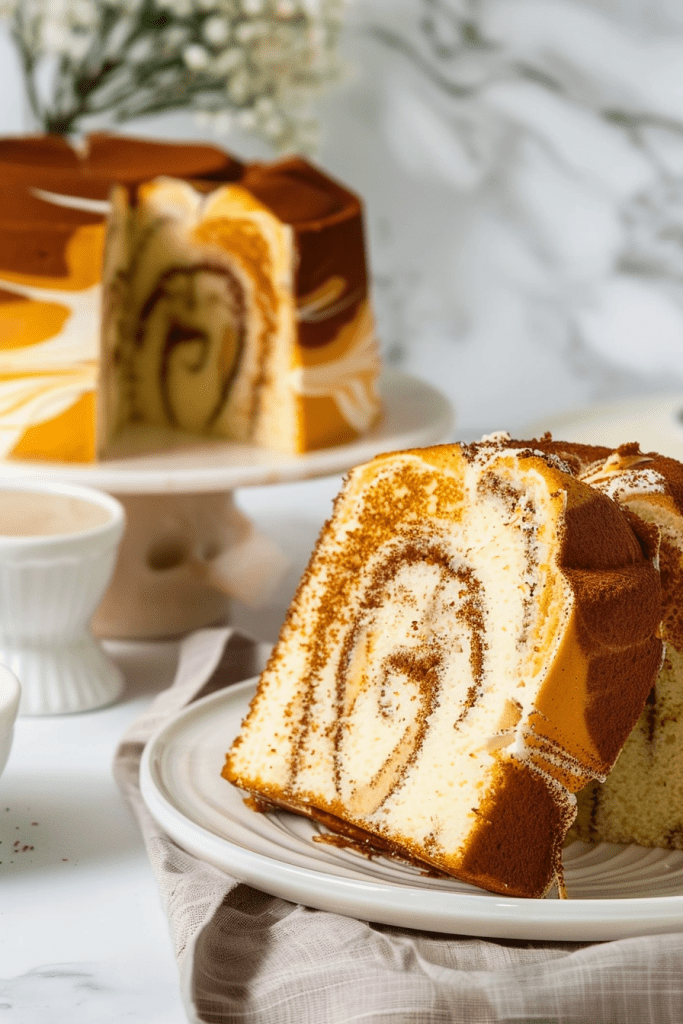
In creating a delectable marble chiffon cake, the key lies in the careful mixing and layering of the vanilla and chocolate batters to achieve that sought-after marbled effect.
Mixing the Vanilla Batter
To start, whisk together the egg yolks with sugar, oil, orange zest, and orange juice until well combined. Sift in the flour and mix until smooth. Divide the batter between two bowls, adding cocoa powder to one and corn starch to the other. Incorporate each element until smooth.
Mixing the Chocolate Batter
In a separate clean bowl, whip the egg whites with lemon juice and sugar until stiff peaks form. Divide the whipped egg whites between the two batters and fold in gently until fully incorporated.
Layering the Batters in the Pan
Preheat the oven to 320°F and let the separated eggs stand at room temperature for 30 minutes. Melt unsweetened chocolate in a saucepan over low heat with sugar and hot water. In a large bowl, combine flour, baking powder, salt, baking soda, and sugar. Beat together the egg yolk mixture with the dry ingredients and add in water, oil, and vanilla, beating until smooth.
Baking
As I delve into the baking process of the marble chiffon cake, it’s crucial to ensure precision and attention to detail to achieve the perfect texture and flavor profile.
Monitoring the Baking Process
To monitor the baking process effectively, preheat your oven to 160°C (320°F) and position the rack on the lowest level to promote even baking. Avoid opening the oven door frequently to prevent temperature fluctuations that may affect the cake’s rise.
Testing for Doneness
When checking for doneness, resist the temptation to open the oven door frequently. About 5 minutes before the end of the baking time, test the cake’s doneness by inserting a skewer into the center. The cake is ready when the skewer comes out clean, indicating that it is fully baked. Expect some cracks on the surface during baking, which is normal for chiffon cakes.
Cooling and Unmolding
After baking the marble chiffon cake to perfection, the next crucial step is the cooling and unmolding process. This step ensures that the cake retains its light and airy texture while preventing the sides from collapsing. Follow these steps carefully for a successful cooling and unmolding experience:
- Inverting the Pan: As soon as the cake is done baking, invert the pan immediately, allowing it to cool while hanging. This process usually takes about 20 minutes, ensuring that the cake settles without losing its height.
- Releasing the Cake: To release the cake smoothly from the pan, you have two main techniques to choose from. The first technique involves using your hand to carefully detach the cake from the pan’s sides, achieving a polished finish. Alternatively, you can run a sharp knife or an offset spatula gently around the edges of the pan, pressing against the pan for a clean release.
- Tapping and Loosening the Cake: After releasing the cake’s sides, gently tap or push the pan’s base to loosen the cake further. Once the cake is detached from the edges, run the knife or spatula around the base to fully release the cake.
- Final Unmolding: Once the cake is fully released from the pan, invert it again so that the bottom is now facing up. This positioning will make it easier to slide the cake out onto a serving plate without damaging the top.
Maintaining the cake’s height and shape during the cooling and unmolding process is essential to showcase the beautiful marbled effect of your chiffon creation. Careful handling and precision ensure that your marble chiffon cake looks as good as it tastes.
Serving
Suggestion for Serving and Presentation
When it comes to serving and presenting your delicious marble chiffon cake, I recommend a simple yet elegant approach.
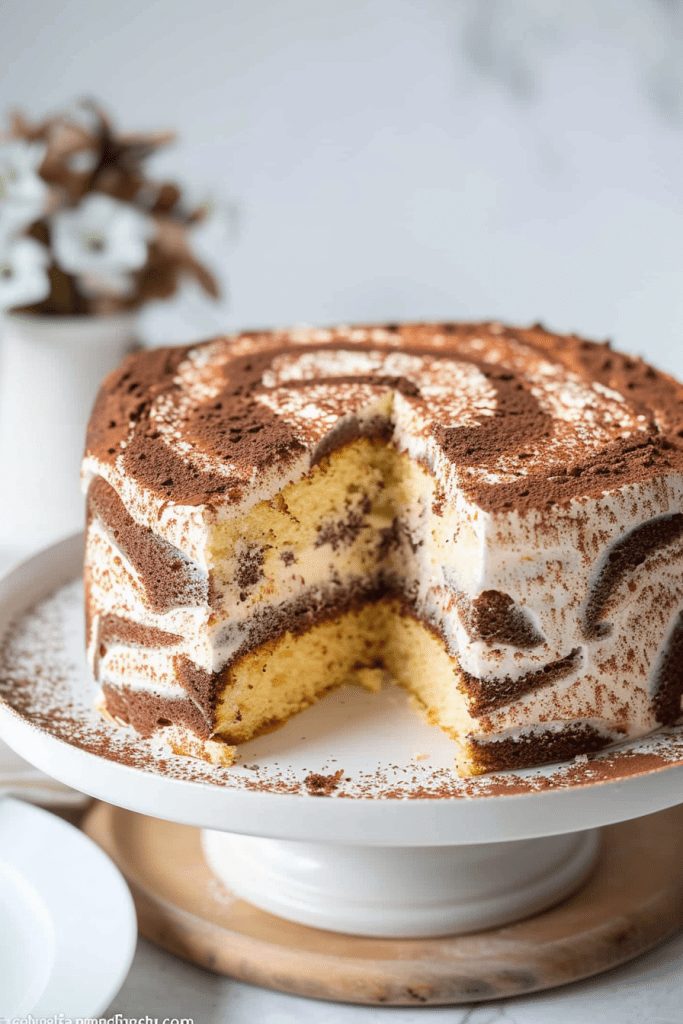
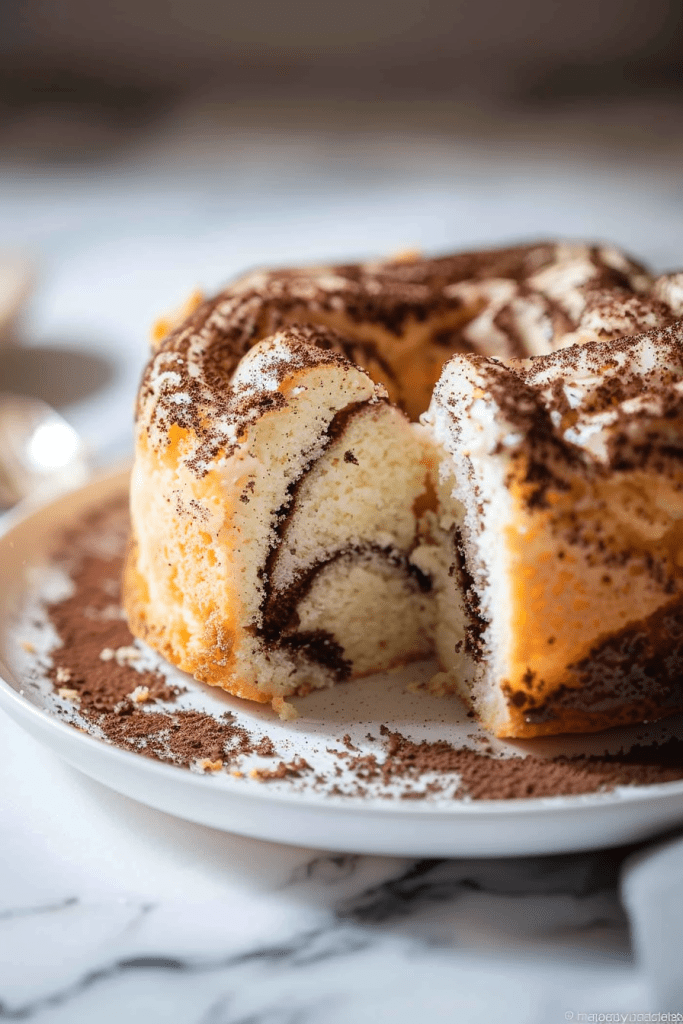
- Slice and Serve: Once the cake has completely cooled and been unmolded, slice it into generous portions. The beautiful marbled pattern will captivate your guests before they even take a bite.
- Garnish with Fresh Berries: Elevate the presentation by adding a pop of color with a handful of fresh berries like strawberries or raspberries on the side of each slice. The vibrant berries complement the cake’s flavors perfectly.
- Dust with Powdered Sugar: To add a touch of elegance, lightly dust the top of the cake with powdered sugar using a fine-mesh sieve. This simple step enhances the visual appeal of the dessert.
- Serve with Whipped Cream: For those who enjoy a little extra indulgence, serve each slice with a dollop of freshly whipped cream on the side. The light and airy texture of the chiffon cake pairs wonderfully with the richness of the cream.
With these serving suggestions, your marble chiffon cake will not only taste delightful but also make a stunning impression at any gathering.
Storing
After creating a delightful marble chiffon cake, proper storage is key to preserving its freshness and taste. Here are some tips on how to store your cake for optimal enjoyment.
Room Temperature Storage
Once the marble chiffon cake has cooled completely, store it in an airtight container at room temperature. Ensure that the container is sealed properly to prevent the cake from drying out. The cake can be stored like this for up to 2-3 days, maintaining its moist texture and delicious flavor.
Freezing Instructions
To freeze your marble chiffon cake, first, ensure that it has cooled entirely. Wrap the cake tightly in plastic wrap, followed by a layer of aluminum foil to prevent freezer burn. Place the wrapped cake in a freezer-safe container or a resealable bag and store it in the freezer. The cake can be frozen for up to 2-3 months. When ready to enjoy, thaw the cake in the refrigerator overnight and bring it to room temperature before serving for the best taste and texture.
Conclusion
Creating a marble chiffon cake is a delightful culinary adventure that combines the richness of chocolate with the lightness of vanilla. From the careful layering of batters to the precise baking and unmolding techniques, each step plays a crucial role in achieving a perfect marbled texture. Serving this elegant dessert with fresh berries, powdered sugar, and whipped cream elevates both its taste and presentation. With proper storage guidelines in mind, you can enjoy the marble chiffon cake’s deliciousness for days to come. Whether for a special occasion or a casual gathering, mastering the art of baking this cake will surely impress your guests and satisfy your sweet cravings.