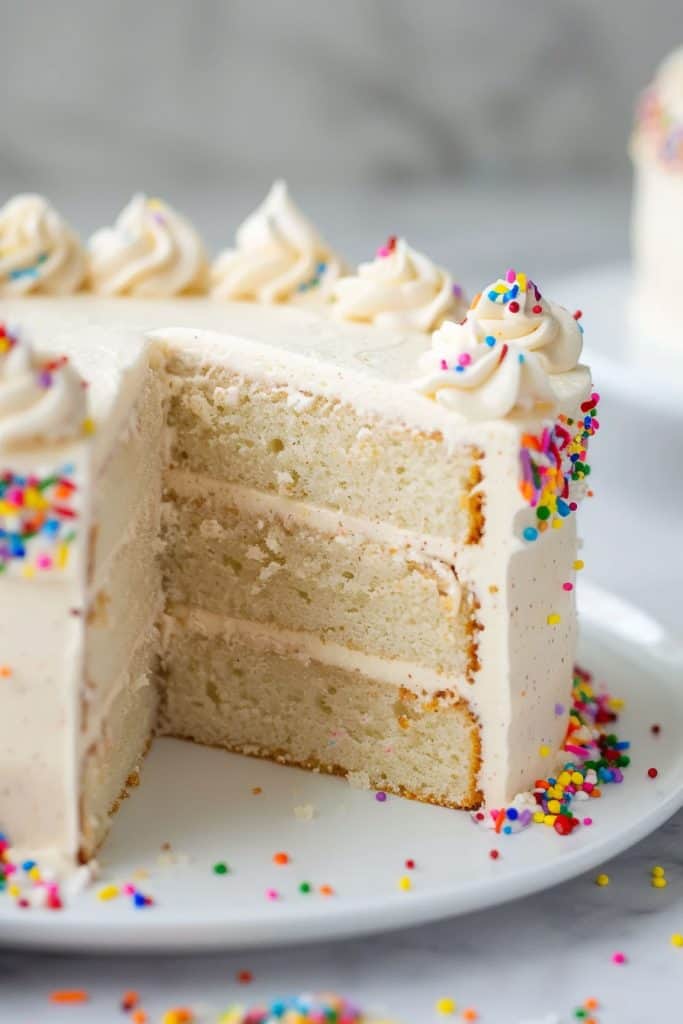
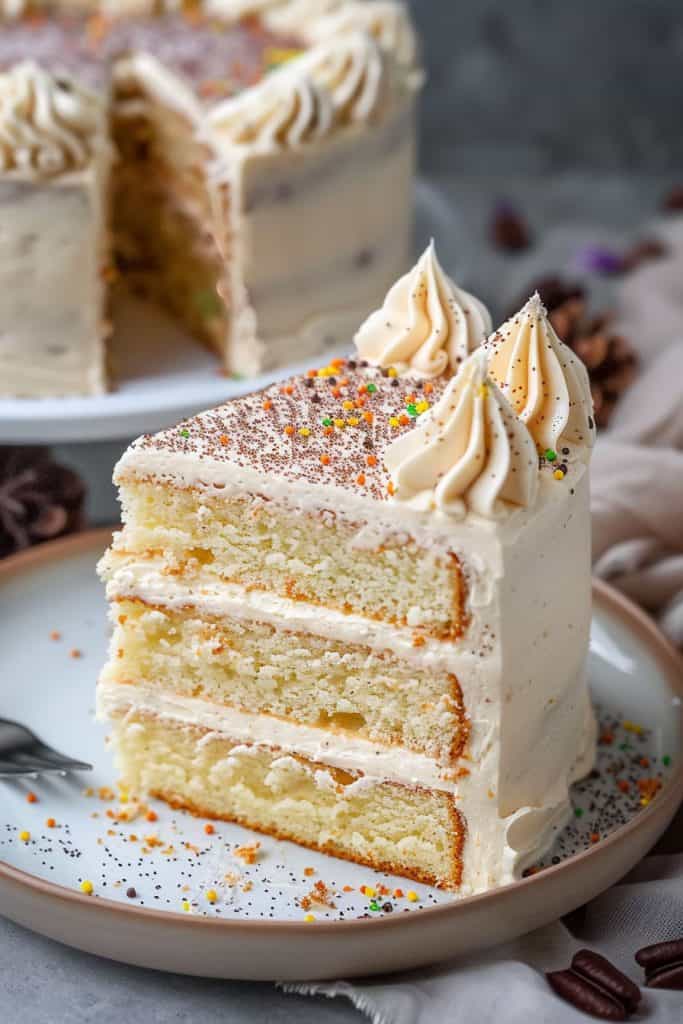
Being a vanilla cake enthusiast, I can’t help but rave about the timeless elegance of vanilla bean birthday cakes. The simplicity of a moist and velvety vanilla bean cake paired with luscious vanilla bean filling and almond buttercream is a celebration in itself. This classic vanilla bean cake recipe is a must-have for any cake lover’s repertoire.
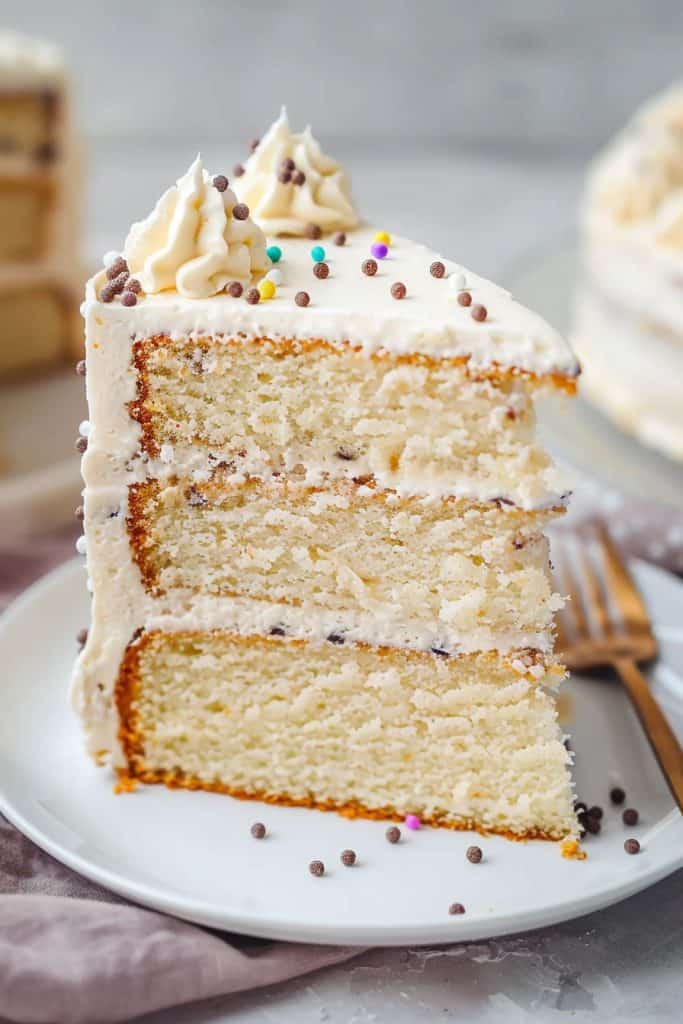
Forget the frills and fancy flavors; this vanilla bean birthday cake is all about pure, unadulterated vanilla goodness. Its tender crumb and authentic vanilla flavor make it a versatile canvas for any occasion. Whether you’re a vanilla aficionado like me or just looking for the perfect vanilla cake recipe, this vanilla bean birthday cake is sure to impress with its rich and indulgent taste.
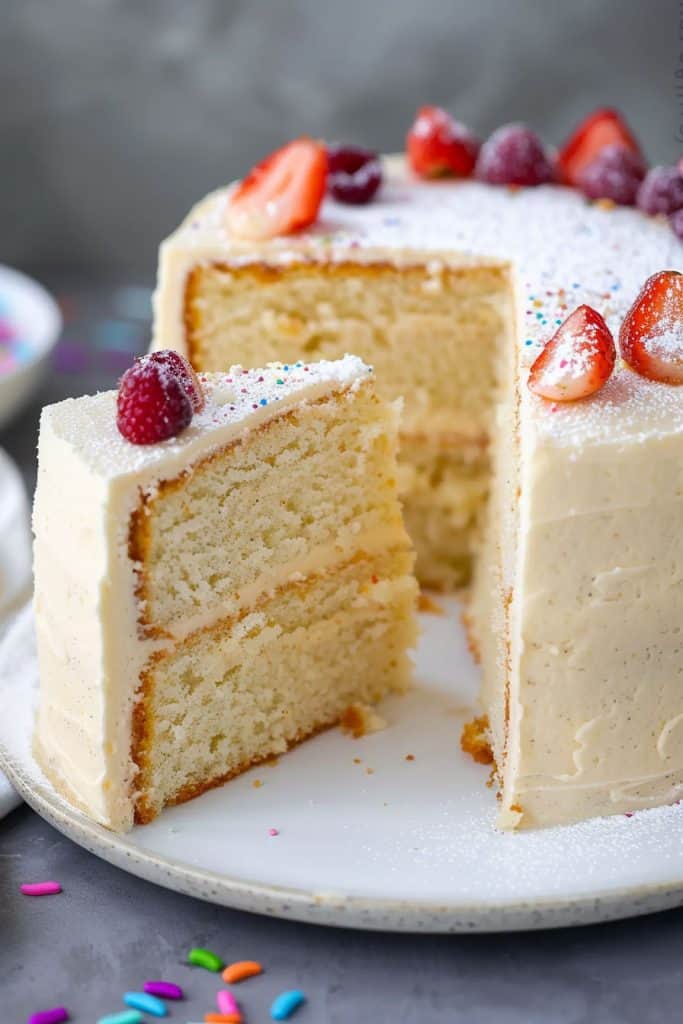
Indulge in the simplicity and sophistication of a vanilla bean birthday cake that speaks volumes with its genuine vanilla flavor and velvety texture. It’s time to elevate your baking game with this classic recipe that never goes out of style.
Ingredients
Vanilla Bean Cake
- 2 1/2 cups cake flour
- 2 1/2 tsp baking powder
- 1/2 tsp baking soda
- 1/2 tsp salt
- 1/2 cup unsalted butter, softened
- 1/4 cup vegetable oil
- 1 3/4 cups granulated sugar
- 1/4 cup corn syrup
- 3 large eggs
- 1 cup buttermilk
- 3 tsp vanilla bean paste
- 1 tsp pure vanilla extract
- 1 cup unsalted butter, softened
- 4 cups confectioners’ sugar
- 2 tsp vanilla bean paste
- 1/4 cup heavy cream
Equipment Needed
When preparing a delicious vanilla bean birthday cake, having the right equipment is essential to achieve the perfect texture and flavor. Here are the key kitchen tools you’ll need to create this delectable dessert:
- Stand Mixer or Hand Mixer
- Mixing Bowls
- Measuring Cups and Spoons
- Liquid Measuring Cups
- Silicone Spatula
- 8 or 9-inch Cake Pans
- Cooling Racks
- Offset Spatula
- Bench Scraper
- Piping Bag
- Open Star Piping Tip
Preparation
Before diving into the baking process, there are a couple of essential steps to ensure the perfect vanilla bean birthday cake. Let’s start by preparing the cake pans and preheating the oven for optimal baking results.
Preparing Cake Pans
Grease and line your round baking pans with parchment paper. This step prevents the cake from sticking to the pans, ensuring easy removal and intact layers. Pro tip: Consider using baking spray for a quick and efficient application.
Preheating the Oven
Preheat your oven to 325°F (165°C) and allow sufficient time for it to reach the desired temperature. This crucial step ensures even baking, resulting in a perfectly baked vanilla bean birthday cake. Consider using a laser thermometer for accuracy in measuring your oven temperature.
Cake Batter Instructions
Creating the perfect cake batter is crucial for a delicious vanilla bean birthday cake. Follow these steps to ensure your cake turns out moist, flavorful, and beautifully textured.
Mixing Dry Ingredients
To start, whisk together the flour, cornstarch, baking powder, baking soda, and salt in a medium bowl. This step ensures even distribution of leavening agents for a well-risen cake.
Creaming Butter and Sugar
Next, cream together the butter and sugar until light and fluffy. This process helps incorporate air into the batter, resulting in a tender crumb texture for the cake.
Incorporating Eggs and Vanilla Bean Paste
Once the butter and sugar are creamed, add the eggs one at a time, mixing well after each addition. Then, incorporate the vanilla bean paste, the star ingredient that will infuse the cake with a rich and aromatic vanilla flavor.
Combining Wet and Dry Ingredients
Gradually add the dry ingredients to the wet mixture, alternating with the milk mixture. Mix just until all ingredients are fully combined to avoid overmixing, which can lead to a dense cake texture.
Baking the Cake
Now that the cake batter is ready, it’s time to move on to baking the perfect vanilla bean birthday cake. Follow these steps for a successful baking process.
Filling the Pans
Divide the prepared cake batter evenly between the greased cake pans. Make sure to spread the batter out to the edges for even baking. Avoid overfilling the pans to prevent the cake from overflowing during baking.
Oven Time and Temperature
Preheat your oven to 325°F (163°C) before placing the filled cake pans inside. Ensure the oven is fully preheated to maintain a consistent temperature throughout the baking process. This lower temperature helps the cake bake evenly without browning too quickly.
Testing for Doneness
After the recommended baking time, use a toothpick inserted into the center of the cake to check for doneness. The toothpick should come out clean with no wet batter attached. Avoid overbaking to prevent a dry cake.
Cooling the Layers
Once the cakes are baked to perfection, allow them to cool in the pans for 10-20 minutes before transferring them to a cooling rack. Cooling the cakes in the pans initially helps them set, preventing them from falling apart. After this initial cooling period, carefully remove the cakes from the pans to cool completely on the rack. Avoid trapping moisture by cooling them in the pans for too long.
Frosting Preparation
After baking a delicious vanilla bean birthday cake, the next step is preparing the frosting to adorn this delightful creation. Here’s how I go about getting the frosting ready:
Softening Butter for Frosting
To ensure a smooth and creamy frosting for your vanilla bean cake, start by softening the butter. Leave it at room temperature for a while until it is soft to the touch, making it easier to mix and incorporate with other ingredients.
Mixing in Vanilla Beans and Sugar
Once the butter is at the right consistency, it’s time to introduce the star of the show – vanilla beans – and sugar into the mix. By blending these ingredients meticulously, you’ll infuse the frosting with the fragrant aroma and rich flavor of vanilla beans, resulting in a luscious topping for your vanilla bean birthday cake.
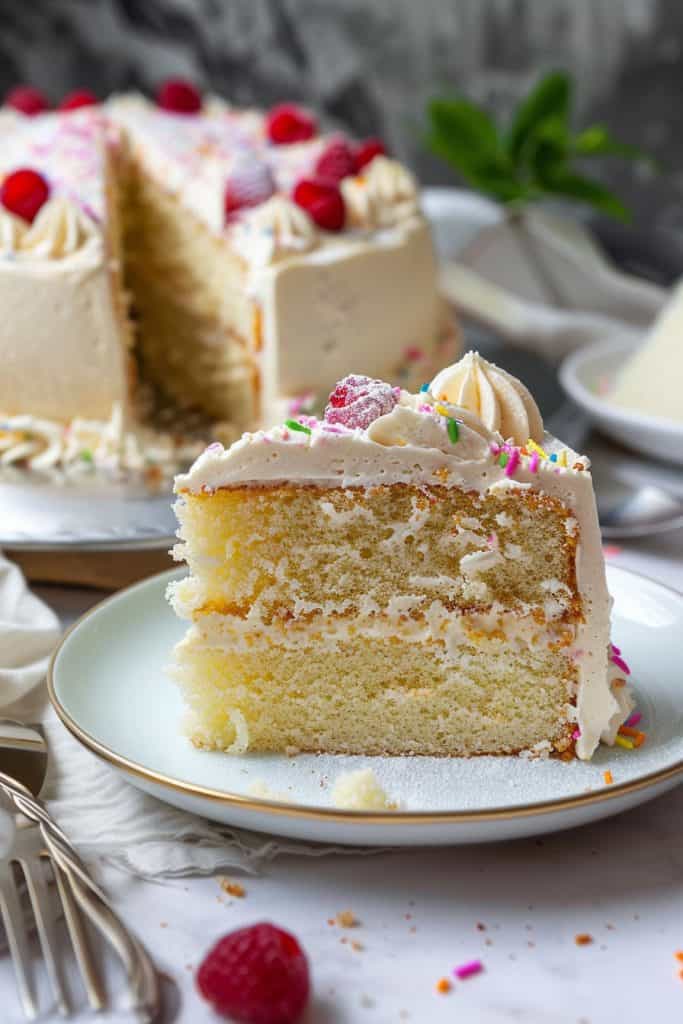
Assembly and Decoration
Layering the Cake and Frosting
To start assembling your vanilla bean birthday cake, ensure the cake layers are completely cooled. Place one cake layer topside up on a cake plate. Add a dollop of frosting on the plate to secure the cake. Spread ½ to ¾ cup of frosting on the first layer and smooth it with an offset spatula. Next, place the second layer topside down on the frosting. Frost the rest of the cake with a thin layer of frosting.
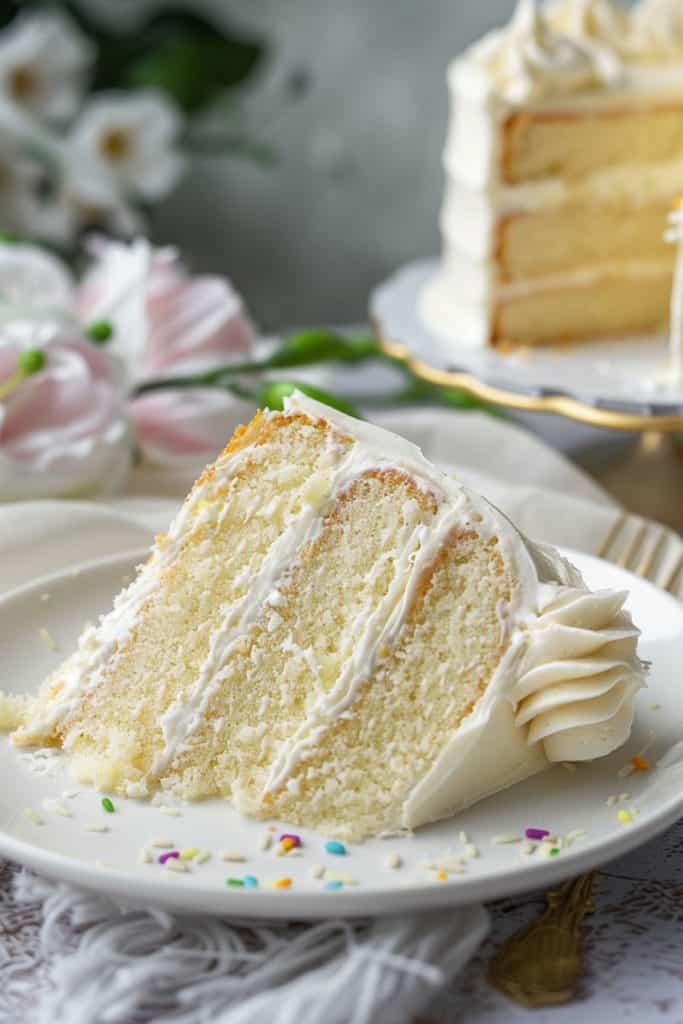
Final Frosting and Smoothing
After layering the cake, apply a crumb coat by spreading a thin layer of frosting over the entire cake. Smooth it with a bench scraper to trap any loose crumbs. Refrigerate the cake for around 30 minutes for the crumb coat to set. Then, add the final coat of frosting generously on the cake and spread it out evenly. Create rustic swirls or follow a rosette design for decoration.
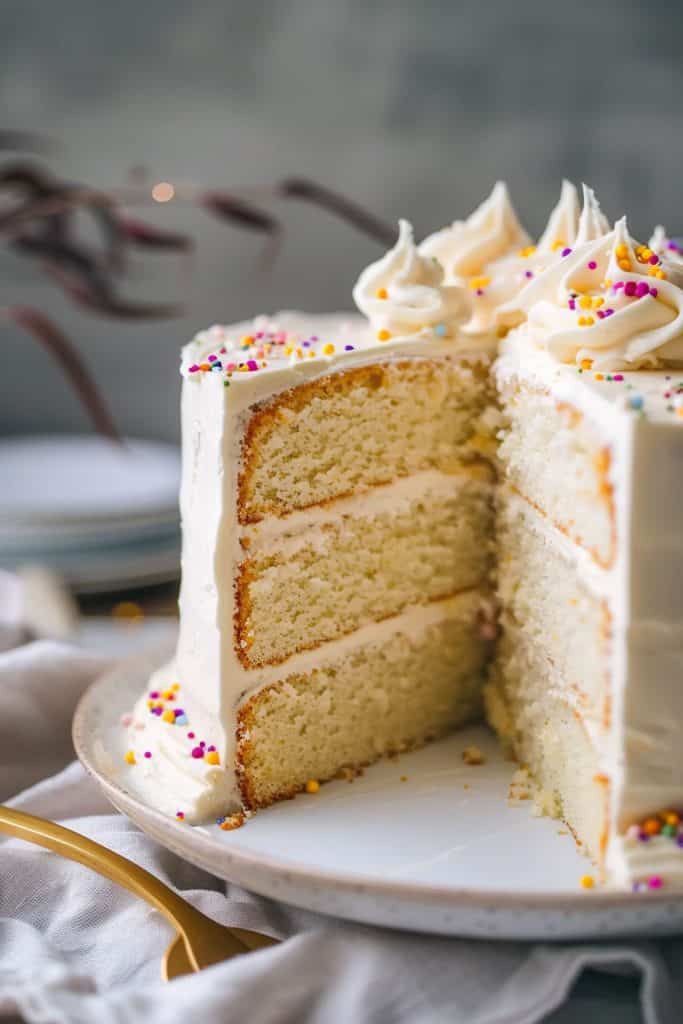
Decorating Options for a Birthday
For a birthday cake decoration, you can choose to do rosettes by piping round spiral shapes from the center to the outside. Start piping rosettes at the bottom and work your way up, filling in any empty spaces. Alternatively, spread the remaining frosting or use your preferred decorating method. Refrigerate the cake for 45 minutes to firm up the frosting before serving.
Advanced Tips
Making Perfect Buttercream
For a velvety smooth and flavorful buttercream, make sure your butter is at room temperature before starting. Cream the butter until light and fluffy before gradually adding the powdered sugar to ensure a lump-free frosting. Incorporating the vanilla bean paste and salt to taste will elevate the flavor profile of your buttercream.
Achieving Flat Cake Layers
To achieve level and stable cake layers, it’s essential to level the cakes by gently trimming the domed tops using a serrated knife. Place the first layer on a cake board bottom-side down, add a generous amount of frosting evenly, and top with the second layer upside down for a professional-looking cake. Applying a crumb coat before the final frosting layer will ensure a smooth finish.
Storage and Make-Ahead Instructions
Refrigerating the Cake
When storing your vanilla bean birthday cake, refrigeration is key to maintaining its freshness. After decorating the cake, you can refrigerate it, but ensure you allow it to come back to room temperature 2-3 hours before serving. This process helps the buttercream to maintain its texture without melting in warmer conditions. While the cake can be kept out of the fridge for up to 24 hours, refrigerate or freeze any leftovers beyond that timeframe.
Freezing Layers for Later Use
If you wish to prepare the cake layers in advance for future use, freezing is a great option. Once the cake layers are baked and cooled, carefully wrap them individually in plastic wrap and then aluminum foil. Store the wrapped layers in the freezer for up to a month. When ready to use, allow the frozen layers to thaw overnight in the refrigerator before assembling and frosting the cake. This method ensures that you can enjoy a delicious vanilla bean birthday cake at a moment’s notice.
Conclusion
Vanilla bean birthday cakes are a delightful treat that can be made with precision and care. By following the steps outlined in this article, you can create a cake that is not only visually appealing but also bursting with flavor. From the baking process to frosting techniques, each step plays a crucial role in achieving the perfect vanilla bean birthday cake. Remember to refrigerate the cake at key points to enhance its texture and taste. Bringing the cake to room temperature before serving ensures the best experience for you and your guests. Freezing cake layers for future use is a handy tip for busy days. With these insights and tips at your disposal, you can confidently bake a vanilla bean birthday cake that will be the highlight of any celebration.